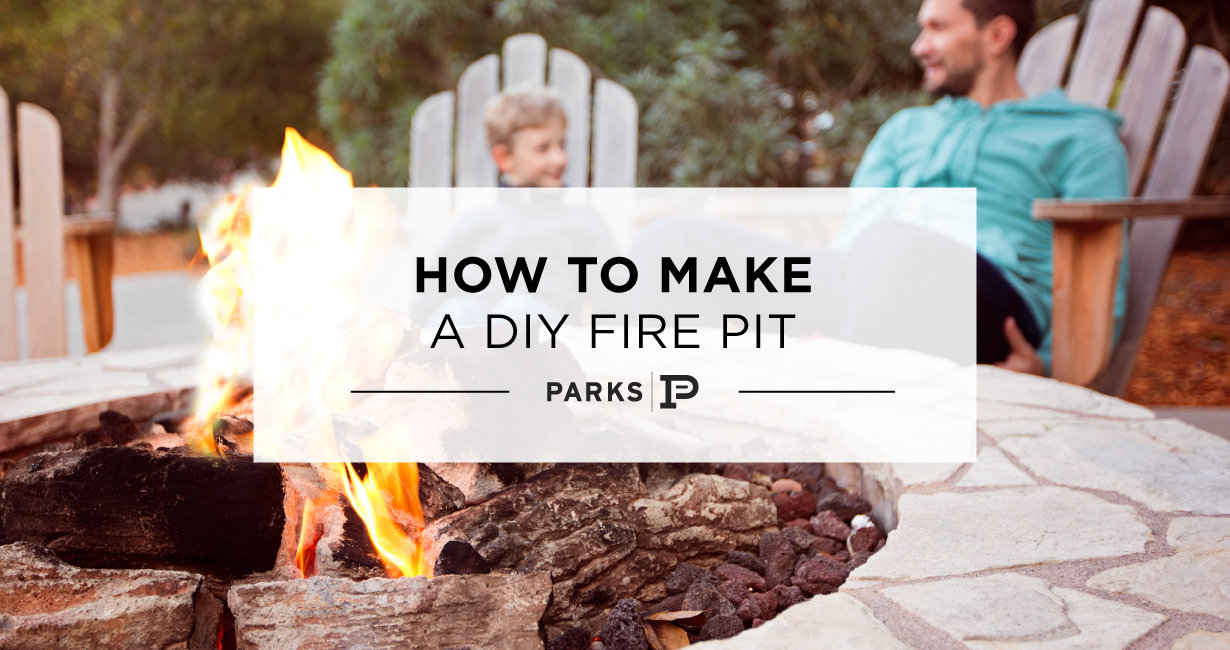
How to Make a DIY Fire Pit
Posted by Jenni Barnett on Monday, September 13th, 2021 at 3:08pm.

Fire pits are one of the most popular backyard entertainment features, and they’re a straightforward DIY project as well! Modern fire pits are warm, beautiful, and safe, and make outdoor entertaining in Middle Tennessee feasible eight to nine months out of the year.
Are you ready to create your own fire pit? All you need is a budget of around $100 and a free afternoon, and you could be roasting s’mores around your new outdoor space by nightfall. Today’s guide will walk you through each step, so scroll through to learn just how to make a DIY fire pit.
1.) Check Local Building Codes
Depending on your local ordinances, there may be restrictions on DIY fire pits. Before you get started on your project, take a few moments to read up on applicable codes.
2.) Select the Perfect Location
Your fire pit needs to be at least 25 feet away from your home, overhanging structures, and low-hanging tree limbs. The ideal spot is flat, and leaves plenty of room to pull up chairs or benches around the fire.
3.) Design Your Fire Pit
Once you’ve decided on the best spot, you’re ready to choose the size and shape of your fire pit. While round pits are the most common, square and rectangular spots can work even better in some yards.
4.) Gather Your Tools and Materials
The items you need to make your fire pit are readily available at both independent and big-box hardware stores. You can either purchase each of these items individually and/or buy a fire pit kit that will have some of them packaged together.
- Shovel
- Rake
- Garden hoe
- Rubber mallet
- Masonry adhesive (optional)
- Spray paint (optional)
- Construction level (optional)
- Tumbled, fireproof concrete blocks (standard and mini sizes)
- Steel, fireproof shield
- Bags of fireproof rock, sand, or gravel
- Herbicide
5.) Outline Your Fire Pit
If you have spray paint, outline your fire pit design before you get started. If you decided not to purchase spray paint, you can use your shovel to create a shallow impression in the soil instead.
6.) Get Digging
Using your shovel, dig down to a depth of 6” within the fire pit perimeter. This depression will create the space for you to add your pit’s fireproof substrate.
7.) Create the Foundation Row
Stack a foundation row of your larger concrete blocks. Set your level on top of this row, spanning the pit’s interior. If your foundation row is not completely level, remove your blocks and adjust the angle of your soil.
Once your foundation row is completely level when checked across from all angles, you’re ready to lay a foundation row for your inner wall using your mini blocks.
When both rows have been laid down, use your mallet to settle the blocks firmly into the soil. At this stage, it’s good to check one more time to ensure your base row is still perfectly level.
8.) Lay Sand, Gravel, or Fireproof Rock
Next, fill your fire pit’s depression with sand, gravel, or fireproof rock.
While many people think of all rocks as fireproof, the fact is that many rocks will shatter explosively when exposed to the heat of a fire.
Never fill your fire pit with stones unless you’re positive they are fireproof.
Popular fireproof options for the modern backyard fire pit are decorative glass beads, rugged lava rocks, and stone. Glass beads are reflective and glossy. Because they come in a wide array of colors, they are also highly decorative. Lava rock is rough and jagged, which can make it ideal for rustic aesthetics. Fireproof stones are large, hold heat well after a fire has burned away, and need to be paired with sand, gravel, lava rocks, or glass beads.
9.) Stack Up the Exterior and Interior Walls
It’s time to stack up your walls! If you’re using masonry adhesive, be sure to follow the included directions and apply adhesive between each layer of stones. Lay down your outer wall, then a row of your inner wall. Repeat these steps until your fire pit is your desired height and shape.
10.) Create a Weed-Free Perimeter
Spray herbicide in a 6” border surrounding your fire pit. This step will keep unsightly weeds from growing around and into your pit. Repeat this step as often as your herbicide directions indicate.
11.) Set Up Chairs or Benches
While you don’t need anything fancier than plastic lawn chairs or folding camping chairs, we must admit to being partial to painted Adirondack chairs, cushioned wicker chairs, wooden benches, and sturdy, budget-friendly cushioned steel furniture sets. These options elevate a simple fire pit, making it a truly eye-catching, inviting yard feature.
We hope this article has inspired you to take advantage of the remaining warm weeks and build your own fire pit before the first chill of fall arrives. Imagine gathering with friends and family around the warmth of the fire, sipping spiced apple cider and hot cocoa, roasting marshmallows, and creating happy memories that will last a lifetime. We believe that moments like these are what being a homeowner is all about!
If you’re searching for a home to make your own, we invite you to reach out to our outstanding Parks Realty agents. From the urban center of Nashville to the sprawling suburbs throughout Middle Tennessee, there’s no denying that no one knows this region’s real estate like Parks—and we live for the moments in which a prospective homeowner like you finds The One.
Thank you for visiting Parks. We hope you have a fun, festive fall full of all the bounty and joy this stunning region has to offer. Check back for our upcoming guides to exploring Middle Tennessee throughout autumn!


