Summer is here, and that means it’s time to get outside and grill. A successful backyard cookout depends largely on preparation and know-how, so here are our tips to ensure that your burgers are the best on the block.
CHOOSING A GRILL
If you’re choosing a grill for the first time, there are four popular types to choose from: charcoal, electric, gas, and gas-powered infrared. Each type has pros and cons.
Charcoal grills impart a smoky, full flavor to food; in fact, this flavor is what many people associate with an outdoor cookout. However, charcoal grills require a lot of space away from structures because they are a serious fire risk. You’ll need to start this type of grill well in advance of your intended grill time and have plenty of charcoal on-hand to keep it going.
Electric grills will cook food that tastes pretty much like food cooked on an electric stovetop. However, you can use these anywhere with an electrical outlet, and you won’t have to purchase and transport fuel. These grills are great for apartment dwellers with limited outdoor space. Unfortunately, they don’t get nearly as hot as the other grill types. For this reason, and because they don’t impart much flavor to food, these types of grills tend to be less popular with home grillers.
Gas Grills are currently the most popular type of grill. They impart a nice flavor to food, but they must be used away from structures. Gas grills can be purchased with a wide range of accessories, including rotisserie kits and side burners.
Infrared Grills are many times more expensive than gas grills, but infrared grills also use gas for fuel. They are best for beef, but are usually overkill for any other type of meat. We recommend that you research infrared grills thoroughly before purchasing.
BEFORE YOU GRILL
You’ll want to have:
- Long metal-tipped wooden handled tongs or plain large metal tongs—whichever you prefer to keep your hands well away from the heat.
- Grill brush—we love this one from Grill Daddy because it uses powerful steam instead of a cleaning solution.
- Long-handled spatula for turning patties.
- Sharp knife appropriate for the type of meat you’re grilling—skip this if you’re only making burgers and hot dogs.
- Wire basket for veggies—Cuisinart makes a great one, which you can buy here.
- Dry dishtowel and oven mitt—your mitt can be silicone or fabric, but fabric gives a more secure grip.
- Fire extinguisher, or good garden hose. Don’t skip this safety step!
- Cold beverage—it gets hot by the flames!
- Extra charcoal or propane tank, especially if you’re grilling for a large group.
- Vegetable oil to lubricate the grill grate.
- Surface thermometer—we like this one from Etekcity.
- 2 platters, 2 sets of utensils: one for raw meat, one for cooked.
MARINADE, RUB, OR GLAZE?
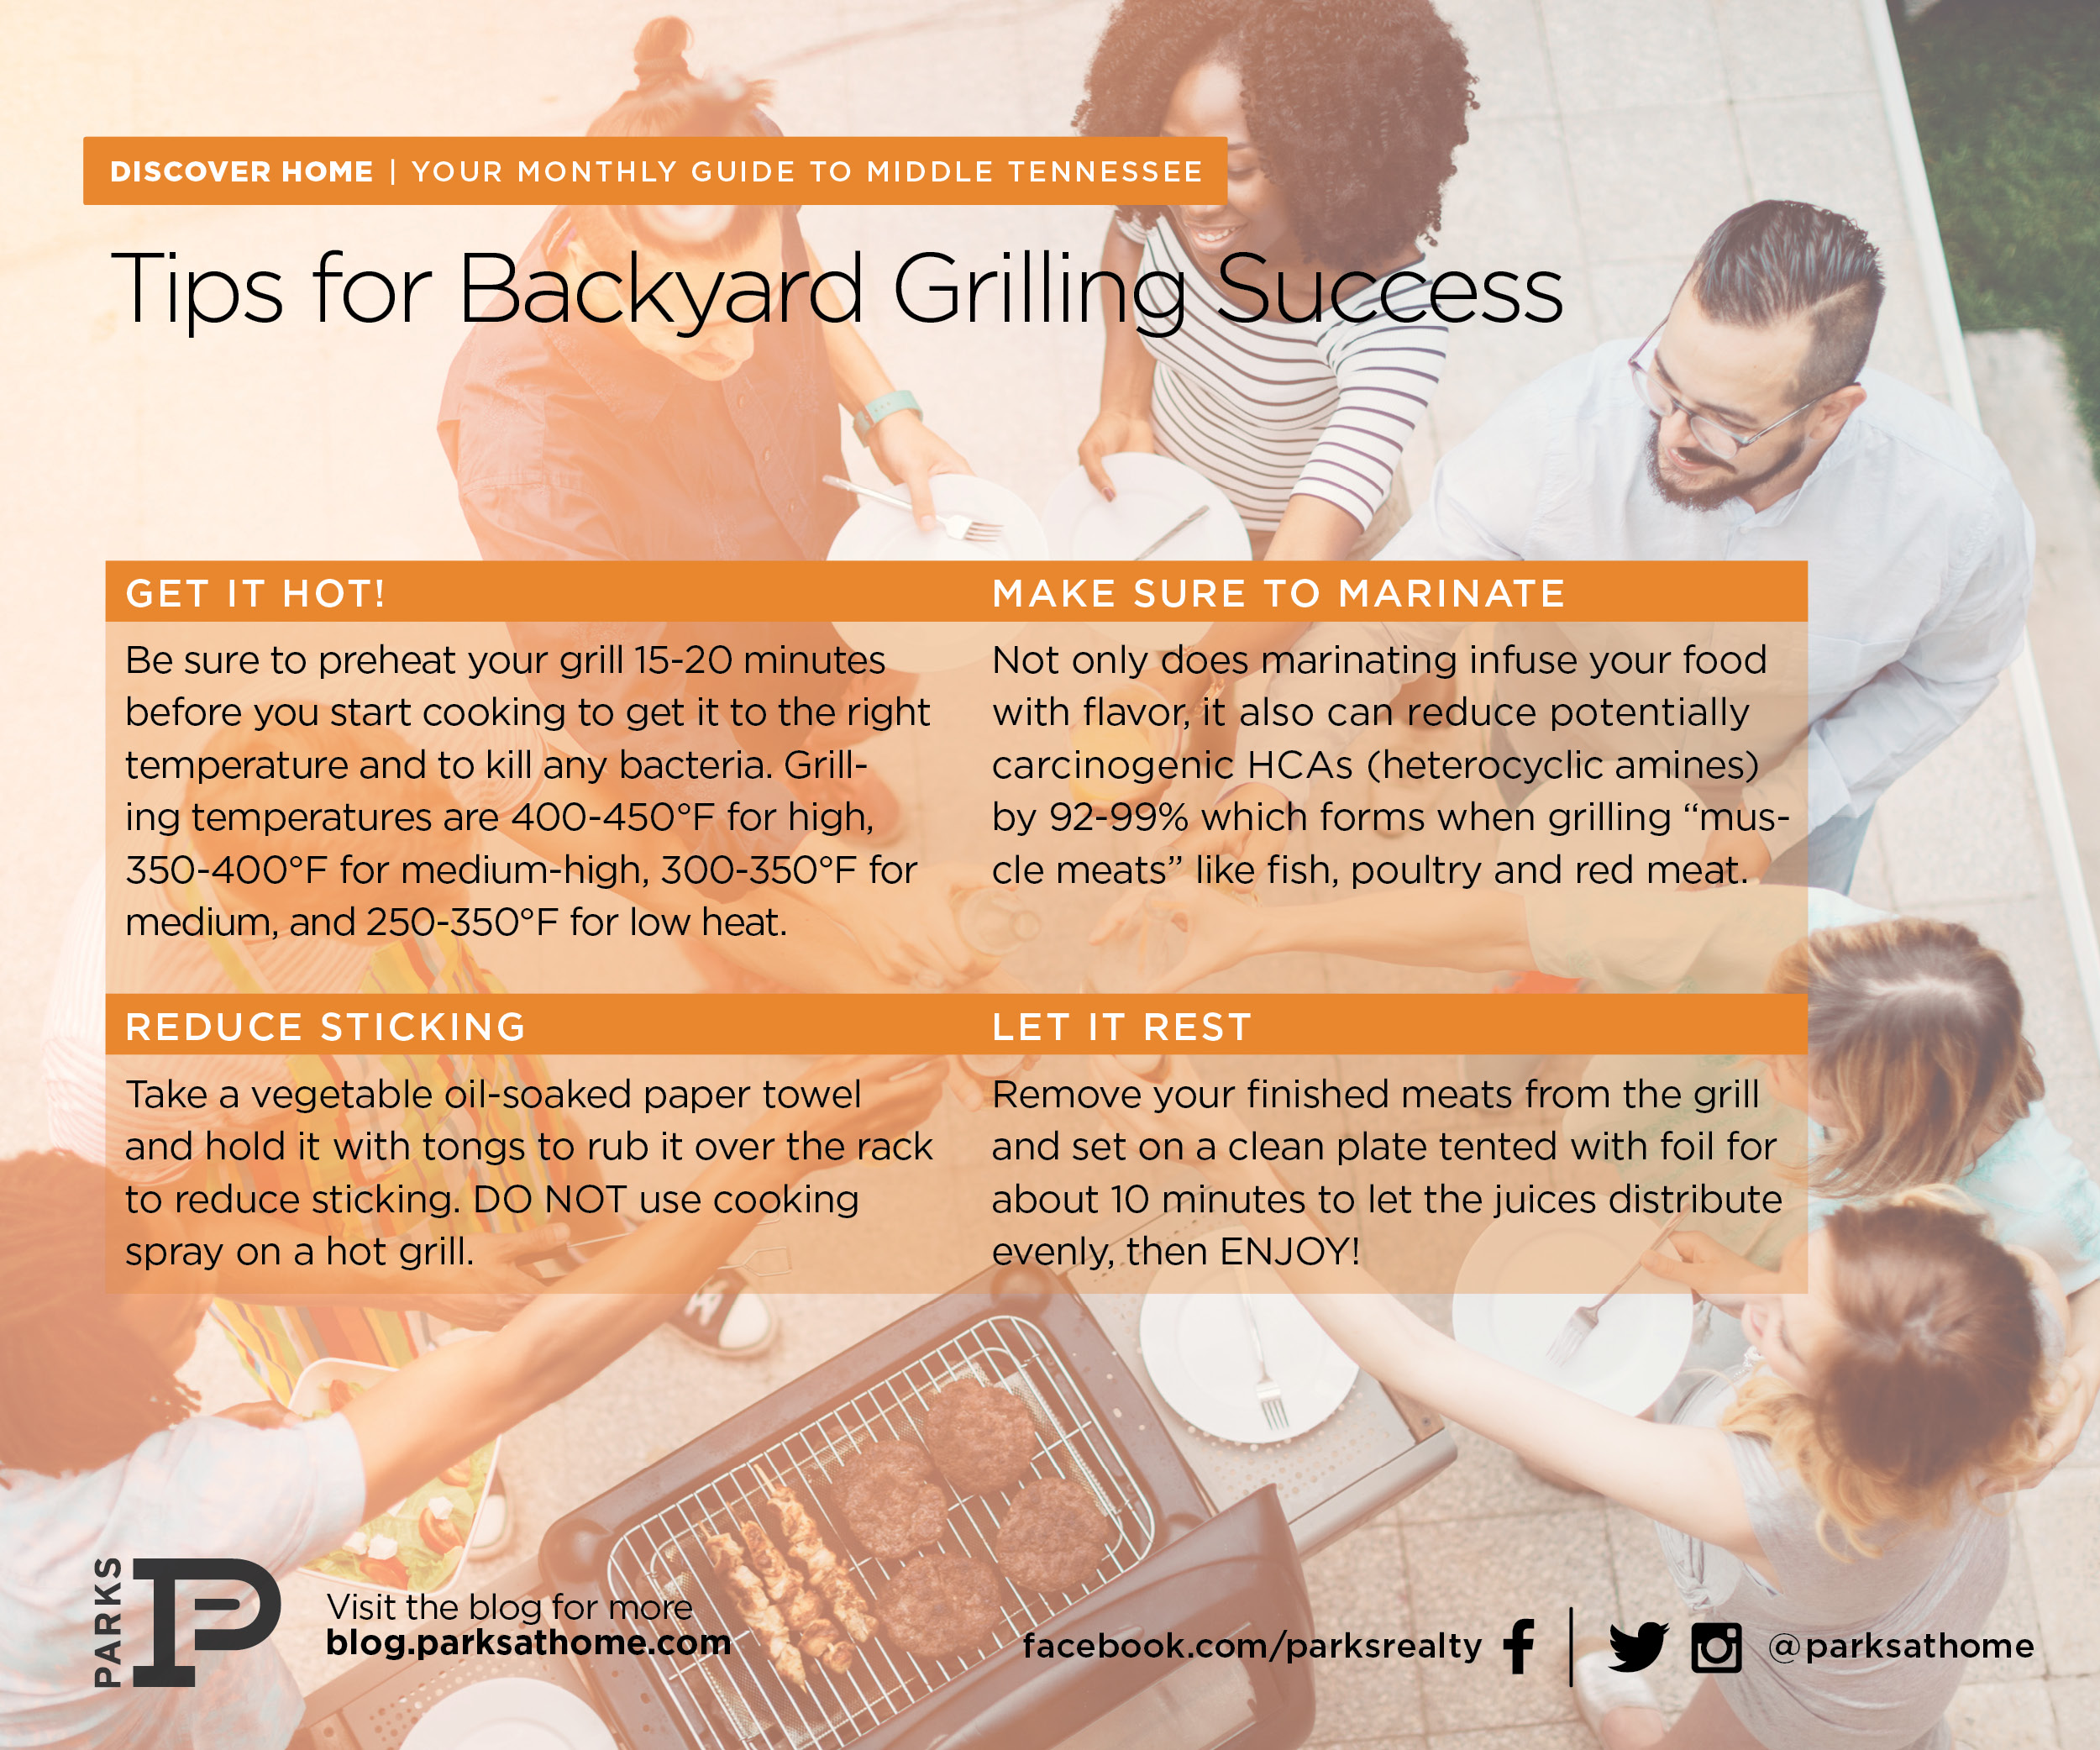
Marinade chicken, fish, or pork to greatly reduce carcinogenic HCAs (heterocyclic amines) by 92 – 99%! Marinades also add flavor and moisture to these meats that can otherwise dry out on an open grill.
Dry rubs are also great for flavoring chicken, fish, and pork, though they don’t reduce amines. You can purchase pre-mixed dry rubs from your local grocery or make your own secret blend.
Glazes are thick, sweet sauces that work equally well for vegetables and all types of meat. They can range from BBQ sauces to light, honey-citrus glazes. Whichever type you decide to mix up, aim for a thick, BBQ sauce consistency and keep brushing the glaze over the meat or vegetables as you grill.
LET’S GET GRILLING
Just before you’re ready to start cooking, give your grill 15-20 minutes to heat up properly. Allowing this much preheating time will get your grill up to the right temperature and kill any bacteria. As a general rule, grilling temperatures are: 400-450° for high, 350-400° for medium-high, 300-350° for medium, and 250-350° for low heat.
You’ll have no time to step away from the grill once the meat hits the metal, so take care of slicing vegetables or cheese, setting out condiments, and prepping your raw meat before you begin. Remember to grill on concrete if at all possible, and set up the grill a good distance away from your house, canopy, or pergola. Be mindful of plant life, animals, and children.
In order to cook your meat evenly, you’ll want to set up direct and indirect heat in two distinct heat zones. For a gas or electric grill, this just means leaving half the burners on and half the burners off. For charcoal, simply put charcoal only on one-half of the grill.
Before you lay down meat, use a paper towel coated with vegetable oil to lubricate the grill. This will help prevent sticking.
Once you get cooking, set up your grilling items left to right. That way you’ll always know which items hit the grill first. Leave the grill alone until you see a clear Maillard reaction forming. That’s that crispy, clear grill mark that makes a seasoned crust on your meat or vegetable. Don’t flip the meat until you see this reaction achieved, or it will stick and rip apart.Turning meat can cause a flare-up; just replace the lid and wait for the flames to settle down before removing it and proceeding to grill.
Turning meat can cause a flare-up; just replace the lid and wait for the flames to settle down before removing it and proceeding to grill.
If you’re grilling steaks, use the finger and thumb test to make sure it’s done. For chicken, use a sharp knife to make a small slice in the thickest portion of the meat. If the juices run clear, it’s cooked. Fish should be opaque and flaky, while vegetables should have a clear sear and be just barely shrunken.
Remove food from the grill before it’s completely cooked; it will remain hot after it’s removed and will continue to cook. Once the meat has been removed from the grill, place it on a clean platter and tent it loosely with foil to preserve heat. Let the meat rest 10 – 15 minutes, or as long as 20 if you’ve grilled a thick porterhouse, prime rib, or tri-tip steak.
Congratulations! You’ve successfully grilled some great grub. Enjoy! But one last thing–don’t forget to clean your grill with your grill brush so it’s prepped and ready to go for next time.
NEED SOME RECIPES?
Visit our blog on Out of the Box Backyard Grilling for inspiration!
FOR REFERENCE
Print this for your refrigerator or pass along to a friend!
Leave A Comment