Fall weather has arrived in much of the country, and with it comes a desire to partake in autumn-inspired activities. Apple-picking, haunted hay rides and pumpkin carving are among some of the most popular things to do at this time of the year.
Whether you’re carving your pumpkin with or without kids this year, it can be a blast! Most people have experienced at least one jack-o-lantern “fail”, but if you follow some basic guidelines, you’ll be more likely to end up with a handsome looking result.
For pumpkin carving success, be sure to follow these 5 basic steps:
1. Select the right kind of pumpkin and tools for carving – The smaller the pumpkin, the more difficult it will be to work with, so choose one that’s large enough to carve but not too large for you to carry home. Look for nicely rounded pumpkins that aren’t misshapen. It’s a bonus if they still have their stems attached. For carving, you’ll need a serrated knife that is easy to handle. Remove the very top of the pumpkin so that you can scoop out the inside of the gourd, including all of the seeds and fiber along with some of the tougher pumpkin flesh. This will allow you to cut out the face of your pumpkin in step #3.
2. Draw your desired jack-o-lantern face with a dark-colored, waterproof marker. Be sure to draw the face on a side of the pumpkin that has few flaws, dents or discoloration so that the end result is as attractive as possible! Remember that a pumpkin can express many moods, not just fright, so a happy, goofy or confused jack-o-lantern can be fun, too.
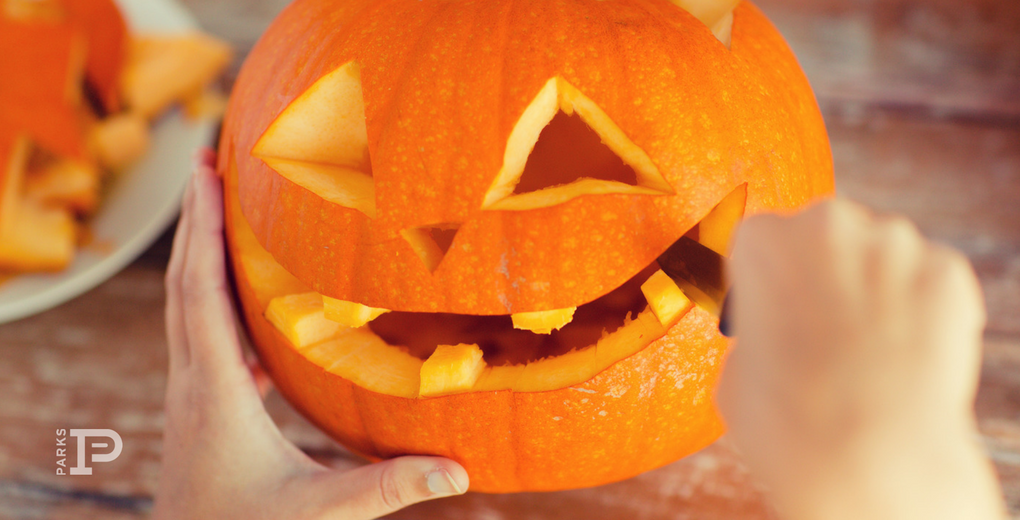
3. Carefully cut out your pumpkin’s face using a sawing motion. Remember that you should always cut away from yourself to avoid any pumpkin carving injuries. Cut all the way through to the inside of the pumpkin around each edge of the facial features that you drew with marker. Then simply ‘pop’ each cut out piece out so that you’re left with a hole where you want light to shine through.
4. Place a small candle (*tea light) inside the finished carving. Replace the cut out portion of the top of the pumpkin’s ‘head’ so that he looks complete. Find a great place to display your jack-o-lantern – on your front porch is a great way to showcase your fall spirit and to help your neighbors get into the spirit, too. *Instead of using traditional tea light candles, consider the LED flameless variety that run on batteries. You’ll get the same effect without running the risk of a fire.
5. Roast your pumpkin seeds and enjoy! Perhaps one of the greatest things about carving a pumpkin is getting to munch on the seeds at the end of your project. Separate all of the seeds from the pulp they’re connected to inside the pumpkin. Place 1-2 Tbs coconut oil (or cooking oil of your preference) into a pan. Add pumpkin seeds, cooking them for several minutes on each side at medium heat. Add salt as desired.
Posted by Parks Compass
on
Leave A Comment